binfalse
Sector 32 is already in use by the program `FlexNet'
December 8th, 2016Just tried to install Grub on a debootstrap‘ed hard drive, but Grub complained:
Installing for i386-pc platform.
grub-install: warning: Sector 32 is already in use by the program 'FlexNet'; avoiding it.  This software may cause boot or other problems in future.  Please ask its authors not to store data in the boot track.
Never heard of that FlexNet thing, but according to Wikipedia it’s a software license manager. And we all know how this whole DRM thing just bugs us.. So it bugged me because the new system wouldn’t boot properly.. Other people having similar problems.
However, it seems impossible to force grub overriding this sector, but you may wipe it manually. In my case sector 32 was infected by DRM, so I did the following:
dd if=/dev/zero of=/dev/sda bs=512 count=1 seek=32If that’s done Grub installs like a charm, the system booted again, and the admin was happy that another DRM thing died :)
The figure I used in this article was made by Brendan Mruk and Matt Lee. They share it as CC BY-SA 3.0.
Handy Docker Tools
December 3rd, 2016
As I’m working with Docker quite intensively it was about time to develop some tools that help me managing different tasks. Some of them have already been existing as functions in my environment or something, but now they are assembled in a git repository at GitHub.
The toolbox currently consists of the following tools:.
dclean cleans your setup
The Docker-Clean tool dclean helps getting rid of old, exited Docker containers.
Sometimes I forget the --rm flag during tests, and when I realise it there are already hundreds of orhpaned containers hanging around..
Running dclean without arguments removes all of them quickly.
Additionally, the dclean tool accepts a -i flag which will clean the images.
It will prune all dangling images.
Dangling images are orphaned and usually not needed anymore.
Thus, dclean -i will remove them.
denter gets you into a containers
The Docker-Enter tool denter beames you into a running Docker container.
Just provide the container’s name or CID as an argument to get a /bin/bash inside the container.
Internally, denter will just call
docker exec -it "$NAME" "$EXEC"with $EXEC being /bin/bash by default.
So there is no magic, it’s just a shortcut..
You may overwrite the program to be executed by providing it as a second argument.
That means,
denter SOMEID ps -efwill execute ps -ef in the container with the id SOMEID.
dip shows IP addresses
The Docker-IP tool dip shows the IP addresses of running containers.
Without arguments it will print the IP addresses, names, and container ids of all running containers.
If your interested in the IP address of a specific container you may pass that container’s CID as an argument with -c, just like:
dip -c SOMEIDThis will show the IP of the container with id SOMEID.
dkill stops all running containers
The Docker-Kill tool dkill is able to kill all running containers.
It doesn’t care what’s in the container, it will just iterate over the docker ps list to stop all running containers.
As this is quite dangerous, it requires a -f flag to actually kill the containers.
You may afterwards run the dclean tool from above to get rid of the cadavers..
dupdate updates images
The Docker-Update tool dupdate helps you staying up-to-date.
It will iterate over all your images and tries to pull new versions of that image from the Docker registry (or your own registry, if you have one).
By default, it will echo the images that have been updates and tells you which images cannot be found (anymore) on the registry.
You may pass the -v to dupdate to enable verbose mode and also get a report for images that do not have a newer version at the registry.
This way, you can make sure that all images are checked.
Similarly, you can pass -s to enable silent mode and suppress messages about images that cannot be found at the registry.
You may also want to look at the Docker-Update tool?
Installation
Installing the tools is very easy: Just clone the Docker-Tools git repository at GitHub. If you’re using a Debian based system you may also install the tools through my apt-repository:
aptitude install bf-docker-toolsThis way, you’ll stay up-to-date with bug fixes etc.
Firefox: Mute Media
December 2nd, 2016
You middle-click a few youtube videos and all start shouting against each other. You enter a website and it immediately slaps sound in you face. How annoying…
But there may be help.
Enter about:config and set
media.block-play-until-visibletotrueto only play media that is also in the current tab an do not play the stuff from the backgroundmedia.autoplay.enabledtofalseto stop autoplaying of some of the media (doens’t work everywhere, not sure why..)dom.audiochannel.mutedByDefaultsets the audio muted by default – essential for officesplugins.click_to_playrequires a click to run plugins, such as flash (which you are anyway not using!)
Fix highlight colors for QT apps on a GTK desktop
November 27th, 2016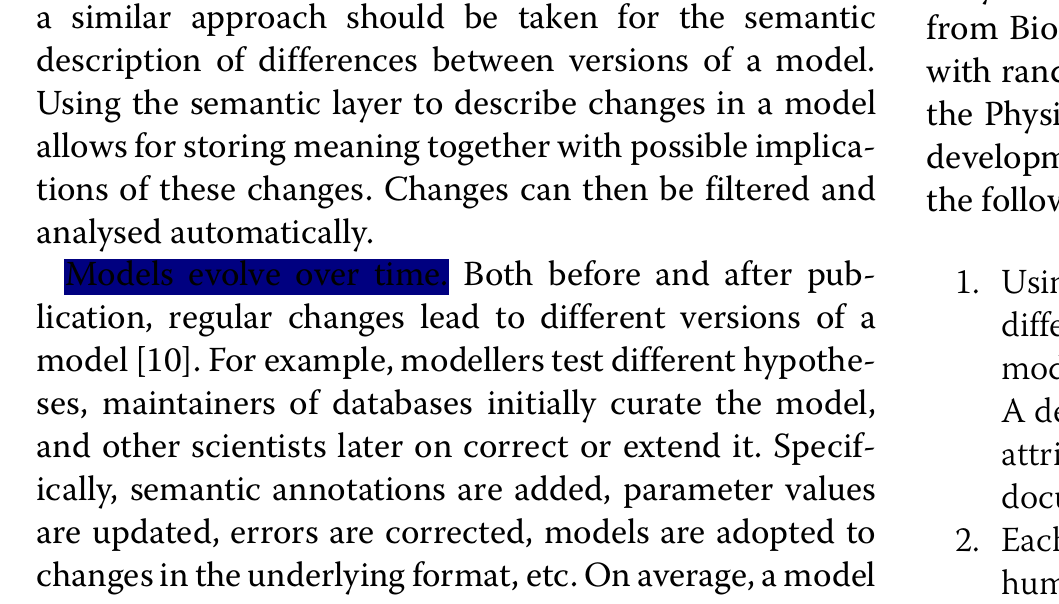
I’m using the i3 window manger. As smart as possible, increases productivity, and feels clean. Exactly how I like my desktop. I’m still very happy that Uschy hinted me towards i3!
However, I’m experiencing a problem with highlighted text in Okular, my preferred PDF viewer. When I highlight something in Okular the highlight-color (blue) is far too dark, the highlighted text isn’t readable anymore. I used to live with that, but it was quite annoying. Especially when you’re in a meeting/presentation and you want to highlight something at the projector. I just saw that problem occurring in Okular. Not sure why, but I honestly do not understand this whole desktop config thing – probably one of the reasons why I love i3 ;-)
Today, I eventually digged into the issue and found out what’s the problem how to solve the problem.
Apparently, Okular uses a Qt configuration, that can be modified using the qtconfig tool.
Just install it (here for Qt4 applications):
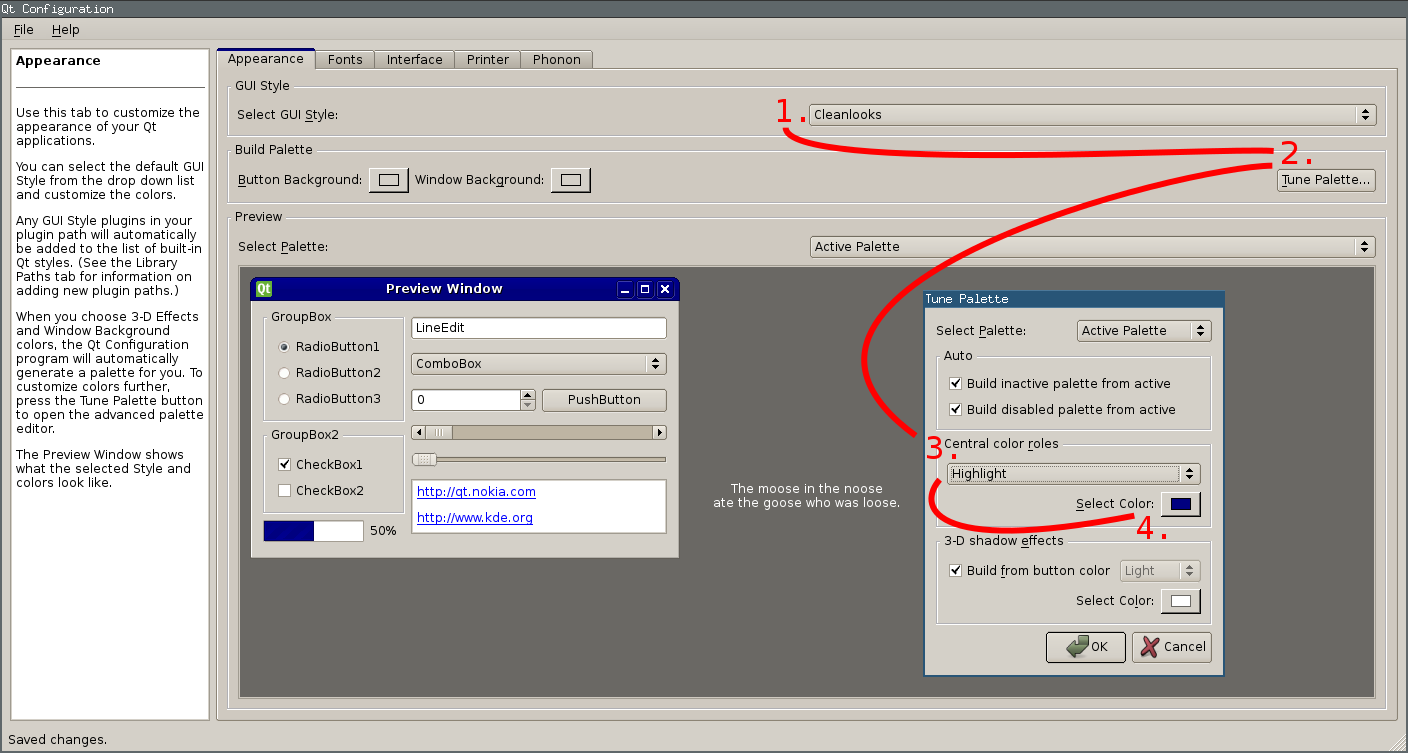
aptitude install qt4-qtconfigWhen you run qt4-qtconfig a window will pop up, as you can see in the figure on the right:
- Select a GUI Style that is not Desktop Settings (Default), e.g. Cleanlooks.
- Then you can click the Tune Palette… button in the Build Palette section.
- A second window will pop up. Select Highlight in the Central color roles section.
- Finally you’re good to select the hightlight color using the color chooser button! :)
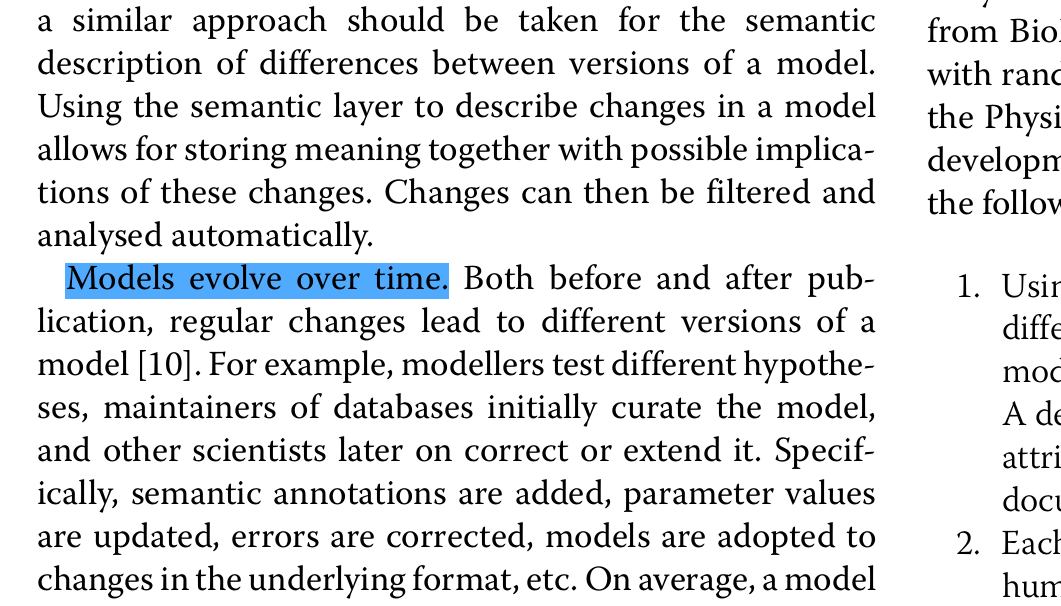
Was a bit difficult to find, but the result is worth it! The figure on the bottom shows the new highlight color – much better.
I will probably never understand all these KDE, QT, Gnome, GTK, blah settings. Every environment does it differently and changes the configuration format and location like every few months. At least for me that’s quite frustrating…
Mail support for Docker's php:fpm
November 25th, 2016
Dockerizing everything is fun and gives rise to sooo many ideas and opportunities. However, sometimes it’s also annoying as …. For example, I just tried to use a Docker container for a PHP application that sends emails. Usually, if your server is configured ok-ish, it works out of the box and I never had problems with something like that.
The Issue
In times of Docker there is just one application per container.
That means the PHP container doesn’t know anything about emailing.
Even worse, the configuration tool that comes with PHP tries configuring the sendmail_path to something like $SENDMAILBINARY -t -i.
That obviously fails, because there is no sendmail binary and $SENDMAILBINARY remains empty, thus the actual setting becomes:
sendmail_path = " -t -i"That, in turn, leads to absurd messages in your log files, because there is no such binary as -t:
WARNING: [pool www] child 7 said into stderr: "sh: 1: -t: not found"
Hard times to start debugging that issue..
The Solution
To solve this problem I forked the php:fpm image to install sSMTP, a very simple MTA that is able to deliver mail to a mail hub. Afterwards I needed to configure the sSMTP as well as the PHP mail setup.
Install sSMTP into php:fpm
Nothing easier than that, just create a Dockerfile based on php:fpm and install sSMTP through apt:
FROM php:fpm
MAINTAINER martin scharm <https://binfalse.de>

# Install sSMTP for mail support
RUN apt-get update \
	&& apt-get install -y -q --no-install-recommends \
		ssmtp \
	&& apt-get clean \
	&& rm -r /var/lib/apt/lists/*
Docker-build that image either through command line or using Docker Compose or whatever is your workflow. For this example, let’s call this image binfalse/php-fpm-extended.
Setup for the sSMTP
PLEASE NOTE: sSMTP is not maintained anymore! Please switch to
msmtp, for example, as I explained in Migrating from sSMTP to msmtp.
Configuring the sSMTP is easy.
Basically, all you need to do is to specify the address to the mail hub using the mailhub option.
However, as my mail server is running on a different physical server I also want to enable encryption, so I set UseTLS and UseSTARTTLS to YES.
Docker containers usually get cryptic names, so I reset the hostname using the hostname variable.
And last but not least I allowed the applications to overwrite of the From field in emails using the FromLineOverride.
Finally, your full configuration may look like:
FromLineOverride=YES
mailhub=mail.server.tld
hostname=php-fpm.yourdomain.tld
UseTLS=YES
UseSTARTTLS=YES
Just store that in a file, e.g. /path/to/ssmtp.conf. We’ll mount that into the container later on.
Configure mail for php:fpm
PLEASE NOTE: sSMTP is not maintained anymore! Please switch to
msmtp, for example, as I explained in Migrating from sSMTP to msmtp.
Even if we installed the sSMTP the PHP configuration is still invalid, we need to set the sendmail_path correctly.
That’s actually super easy, just create a file containing the following lines:
[mail function]
sendmail_path = "/usr/sbin/ssmtp -t"
Save it as /path/to/php-mail.conf to mount it into the container later on.
Putting it all together
To run it, you would need to mount the following things:
/path/to/php-mail.confto/usr/local/etc/php/conf.d/mail.ini/path/to/ssmtp.confto/etc/ssmtp/ssmtp.conf- your PHP scripts to wherever your sources are expected..
Thus a Docker Compose configuration may look like:
fpm:
	restart: always
	image: binfalse/php-fpm-extended
	volumes:
		# CONFIG
		- /path/to/ssmtp.conf:/etc/ssmtp/ssmtp.conf:ro
		- /path/to/php-mail.conf:/usr/local/etc/php/conf.d/mail.ini:ro
		# PHP scripts
		- /path/to/scripts:/scripts/:ro
	logging:
		driver: syslog
		options:
			tag: docker/fpm
Give it a try and let me know if that doesn’t work!
Links
Docker resources:
- Docker
- Docker Compose
- My binfalse/php-fpm-extended extended (entailed for my needs, e.g. also includes MySQL)
- My Dockerfile in a Git repository at GitHub
- Dockerfile reference
Some sSMTP resources that helped me configuring things: